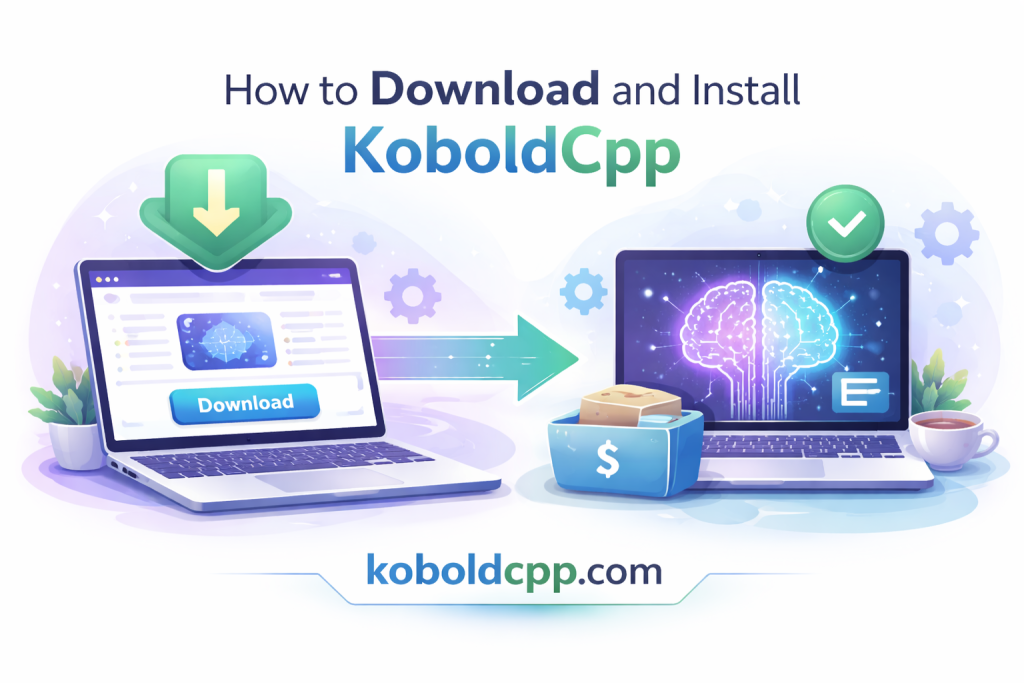
KoboldCpp is a powerful yet lightweight application that allows users to run large language models locally on their computers. Unlike cloud-based AI platforms, it operates entirely offline once installed, giving users greater privacy and control over their AI interactions. Installing KoboldCpp is relatively simple compared to many other AI frameworks, making it suitable for beginners and advanced users alike. This step-by-step guide explains how to download, install, and set up KoboldCpp properly so you can start running local AI models without complications.
Understanding System Requirements
Checking Minimum Hardware Requirements
Before downloading KoboldCpp, it is important to confirm that your system meets basic hardware requirements. Running language models locally requires sufficient RAM, processing power, and optionally a compatible GPU for acceleration. Smaller models can run on systems with moderate specifications, while larger models demand higher memory capacity. Ensuring your hardware is capable prevents performance issues during installation and execution.
Verifying Operating System Compatibility
KoboldCpp supports multiple operating systems, including Windows, Linux, and macOS. The installation steps may vary slightly depending on your platform, but the overall process remains straightforward. Confirming that your operating system version is up to date improves compatibility and stability. A supported environment ensures smooth execution after installation.
Installing Required Dependencies
Although KoboldCpp itself does not require complex installation, your system must have the necessary runtime support. On most systems, no additional libraries are required beyond standard system components. However, if you plan to use GPU acceleration, ensure that your graphics drivers and related libraries are properly installed. Having updated drivers improves performance and reduces errors.
Downloading KoboldCpp
Visiting the Official Repository
To download KoboldCpp safely, always use the official GitHub repository or a trusted release page. Avoid third-party download sites to reduce the risk of malware or modified files. The official page provides the latest stable release along with version notes. Downloading from the correct source ensures authenticity and security.
Choosing the Correct Version
KoboldCpp releases typically provide different builds for various operating systems. Select the version that matches your system architecture, such as Windows executable or Linux binary. Some releases may include GPU-enabled builds depending on hardware support. Choosing the correct version prevents compatibility issues during setup.
Downloading the Release File
Once you select the appropriate version, download the compressed ZIP or executable file to your computer. Save it in a convenient location, such as your desktop or a dedicated tools folder. Make sure the download completes successfully before proceeding. A complete and verified file ensures smooth installation.
Installing KoboldCpp
Extracting the Downloaded Files
If the file is provided in ZIP format, right-click and extract it using built-in archive tools or third-party software. After extraction, you will see the main executable file and related components inside the folder. No installer wizard is required for KoboldCpp. Simply extracting the files prepares the application for execution.
Running the Executable File
To start KoboldCpp, double-click the executable file inside the extracted folder. On Windows, this may be a .exe file, while Linux and macOS may require running the binary from Terminal. The application will launch and open a local web interface. Since it runs as a standalone program, no additional installation steps are needed.
Allowing Firewall Permissions
When launching KoboldCpp for the first time, your system firewall may request permission to allow local network access. Grant permission if prompted, as the tool uses a local web server interface to function. This access is limited to your device unless you configure external connections. Approving firewall access ensures proper operation of the web interface.
Loading a Language Model
Downloading a Compatible Model
KoboldCpp requires a compatible language model file, typically in GGUF format, to function. You can download models from trusted AI model repositories such as Hugging Face. Choose a model that matches your hardware capabilities, as larger models require more memory. Proper model selection ensures stable performance.
Placing the Model File
After downloading the model file, move it to a folder where you can easily access it. Keeping models organized in a dedicated directory simplifies future management. Ensure that the file is fully downloaded and not corrupted. Proper file placement makes the loading process straightforward.
Loading the Model into KoboldCpp
Once KoboldCpp is running, use the interface to select and load the model file. The application will begin initializing the model into memory. Depending on model size and hardware speed, this may take a few seconds to several minutes. After loading completes, the system is ready for prompt input and text generation.
Configuring Basic Settings
Adjusting Performance Options
KoboldCpp allows users to configure settings such as thread count, context length, and GPU layers. Beginners can use default settings for simplicity. Adjusting these parameters based on hardware improves performance and responsiveness. Proper configuration prevents system overload and ensures smooth operation.
Setting Generation Parameters
You can customize text generation settings,, including temperature, top-p sampling, and token limits. These settings influence how creative or precise the AI responses appear. Beginners are encouraged to start with default values and gradually experiment. Understanding these controls enhances your overall experience.
Saving Preferred Configuration
After adjusting settings, you may save your configuration for future sessions. This prevents the need to reconfigure options each time you launch the application. Consistent configuration improves workflow efficiency. Saving preferences streamlines long-term usage.
Testing the Installation
Entering a Test Prompt
To confirm successful installation, enter a simple test prompt into the interface. For example, ask the model to generate a short paragraph about a common topic. The AI should respond within seconds if properly configured. Successful response generation confirms that installation and model loading are complete.
Checking Performance Stability
Monitor CPU and memory usage during the first test. If the system becomes unresponsive, consider adjusting the thread count or selecting a smaller model. Stable performance indicates proper configuration. Early testing helps identify necessary adjustments before extended use.
Troubleshooting Common Issues
If the model fails to load or generates errors, verify that the file path is correct and the model format is supported. Ensure that your system meets minimum hardware requirements. Updating graphics drivers may also resolve GPU-related issues. Basic troubleshooting resolves most beginner setup problems.
Conclusion
Downloading and installing KoboldCpp is a straightforward process that requires only extracting the official release and loading a compatible language model. With proper hardware verification and configuration, users can run powerful AI models locally without complex setup procedures. By following this step-by-step guide, beginners can quickly start using KoboldCpp for private, offline AI text generation and experimentation.